Key Points
- To delete a drive partition from Settings, go to System > Storage > Advanced storage settings > Disks & volumes, click Properties in front of the volume, then click Delete.
- You can also delete volumes from the Disk Management console, the Command Prompt, and Windows PowerShell.
The Windows operating system can handle different drive partitions so you can organize your files and folders, and add or remove volumes as per need. On Windows 11, you can delete or remove drive partitions and use them to extend space on other volumes or divide them into smaller partitions.
Managing your own partitions is one of the benefits of using a Windows OS. Allow us to walk you through all the possible methods to delete drive partitions and volumes on Windows 11.
Is deleting drive partitions safe?
Before showing you how to delete volumes on Windows 11, you ought to consider its repercussions.
When you delete a drive partition, the file system, that determines how the data is stored, is removed from that particular volume. When it is removed, the partition is no longer accessible unless a file system is reintroduced. However, the data that was placed on the partition is still there.
That being said, even though your data is present, it is inaccessible. But when you reformat the partition, the existing data is overwritten. Hence, it is considered that when you delete a volume, the data is also permanently lost.
Therefore, if you plan on deleting a single or multiple drive partition(s), make sure to backup its data. You can also use our top selection of disk imaging and backup software so you never lose your data or operating system again.
How to delete a drive partition on Windows
On Windows 11, you can delete a volume partition using one of the following 4 methods:
- From the Settings app
- From the Disk Management console
- From the Command Prompt
- From Windows PowerShell
Delete partition from Windows Settings
Use the following steps to delete a volume drive on Windows 11 using the Settings app:
-
Press the Windows Key + i to open the Settings app.
-
Now navigate through the following path:
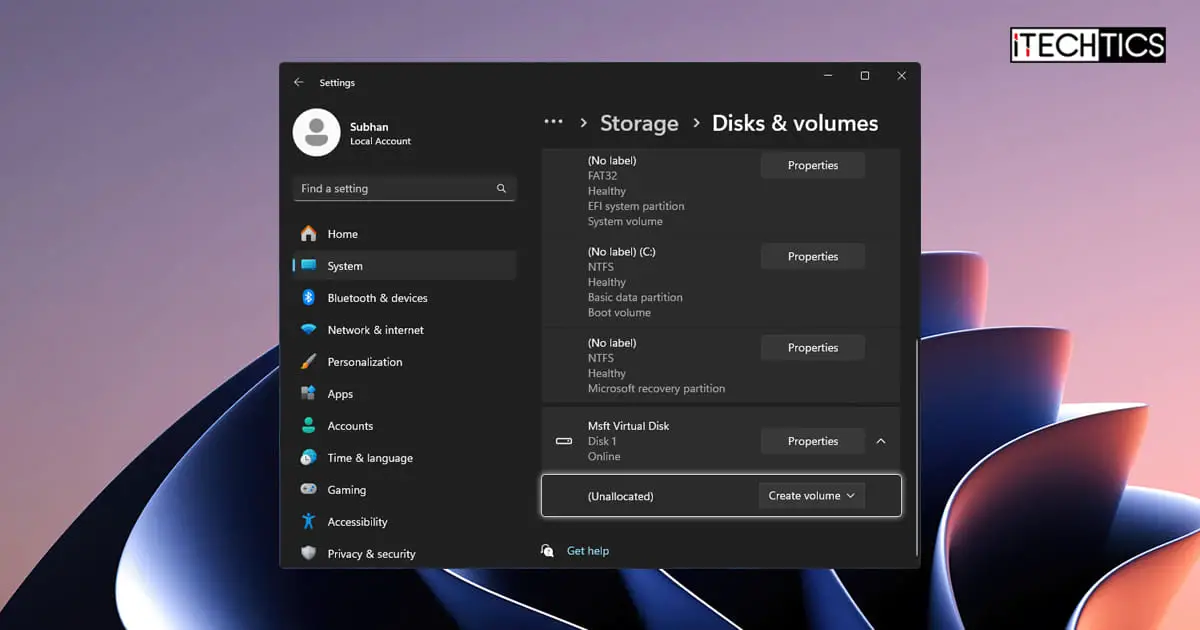
System > Storage > Advanced storage settings > Disks & volumes
-
Click Properties in front of the partition that you want to delete.

Open partition properties from Settings -
Click Delete in the Format section.

Delete volume from Windows Settings -
When asked for confirmation, click “Delete volume.”

Confirm volume deletion


The volume will now be deleted and shown as “Unallocated.” You may now continue to use the unallocated space as you please. You can even use it to create Dev Drive.

Delete partition from Device Management Console
You can also delete a drive volume from the Device Management console. Here is how:
-
Press the Windows Key + R to open the Run Command box.
-
Type in “diskmgmt.msc” and press Enter to open the Disk Management console.
-
Right-click on the volume that you want to delete and then click “Delete Volume.”

Delete volume from Disk Management console -
When asked for confirmation, click Yes.

Confirm action


The drive partition will now be deleted and you will see “Unallocated” written with it.

Delete partition using Command Prompt
If you prefer using the Windows command line, then you can also use the Command Prompt to delete a volume. Here is how:
-
Press the Windows Key + R to open the Run Command box.
-
Type in “cmd” and press CTRL + Shift + Enter to open an elevated Command Prompt.
-
Run the following command to enter the Diskpart mode:
Diskpart -
Run this command to list all the available partitions:
list volume -
Note down the volume number associated with the partition that you want to delete.

Note the volume number to delete -
Now use the following command while entering the associated number to select the volume in the place of [#]:
Select Volume [#]
Select the volume to delete -
Run the following command to delete the volume:
Delete Volume
Delete partition drive from Command Prompt


The drive partition will now be deleted. You can close the Command Prompt or run the Exit command to exit the Diskpart mode.
Delete partition using PowerShell
You can also delete a volume using PowerShell. Here is how:
-
Run a PowerShell instance with administrative rights.
-
Run the following command to get the information on existing volumes.
Get-Volume -
Note down the drive letter for the volume that you want to delete.

Note the drive letter for the volume to delete -
Now use this command to delete the volume using its associated drive letter in place of [DriveLetter]:
Remove-Partition -DriveLetter [DriveLetter] -
When asked for confirmation, enter A for “Yes to all.”

Delete partition drive using PowerShell


This concludes all the methods you can use to delete a drive partition on Windows 11, in case you need it.
What happens when you delete a volume partition?
When you delete a volume, its file system is removed. A file system is responsible for storing and handling the data inside. Without a file system, the data cannot be accessed, but it still exists.
Is the data permanently deleted when you delete a volume on Windows?
When you delete a volume, technically, the data is not deleted; the file system is. However, in order to access the data, you need a new file system, which can be placed by formatting the volume. However, when you format it, the data is then deleted. Regardless, you can still use recovery tools to recover any lost data at this point. However, if the data is overwritten, it may not be recoverable.


