Windows 10 comes with its own troubleshooter built into the Settings app. However, it is primarily for troubleshooting Windows features and components. Microsoft SaRA is here to fix any issues with other Microsoft applications, such as Office 365, Outlook, Teams, OneDrive, Skype for Business, and Windows activation.
Let us show you how you can automatically fix known issues in the above-mentioned applications with a few clicks.
Table of contents
What is Support and Recovery Assistant and how it works
SaRA is a utility from Microsoft which helps the general Windows users in troubleshooting and maintaining their applications. This tool helps save time and process technicalities by automatically performing any necessary troubleshooting tasks so that the user does not have to look it up on the internet to perform those tasks themselves.
The Support and Recovery Assistant receives frequent updates through which its database of known issues, along with other things, is updated. This means that any new problems caused through Windows Update can be addressed later through the SaRA updates.
As mentioned earlier, SaRA works through algorithms and codes to fix known problems in Microsoft applications. However, it is not always able to perform the recommended tasks by itself. Thus, the application then recommends actions to be performed if the problem is not fixed.
If you are facing issues with any of the supported Microsoft applications, continue reading down to learn how to troubleshoot them.
Quick facts
Current version: 17.00.5555.000
Compressed file size: 74.8 MB
Supported Operating Systems: Windows 7, 8, 8.1, 10
Supported Office products: 2010, 2013, 2016, 2019, Office 365 (32 and 64-Bit)
Troubleshoot Microsoft Application(s) using Support and Recovery Assistant
SaRA makes it very easy and simple to troubleshoot your Microsoft applications. Here is how you can use this handy utility to assist you with your Microsoft products:
- Download Microsoft Support and Recovery Assistant and extract the compressed folder.
- Run the extracted package by double-clicking it, and then go through with the installation wizard.
- Once installed, the utility will run itself. Now select the application with which you are having trouble with, and then click Next.
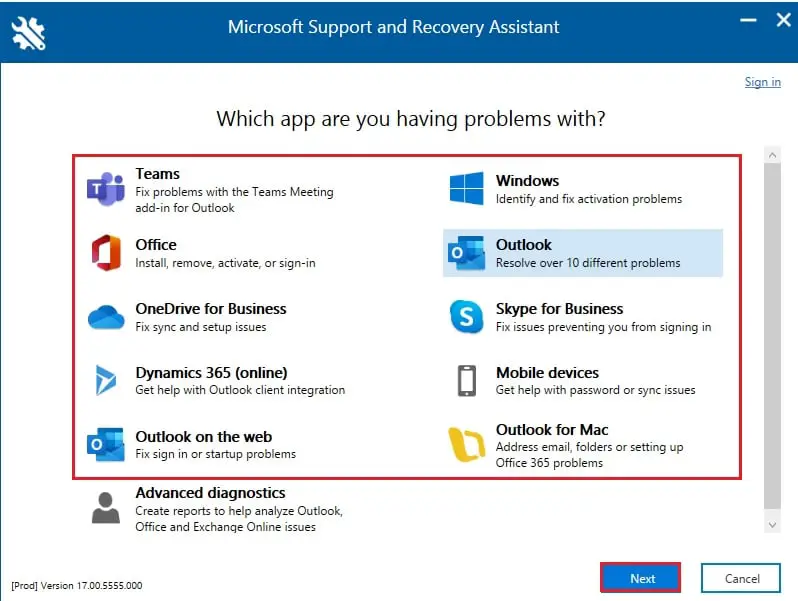
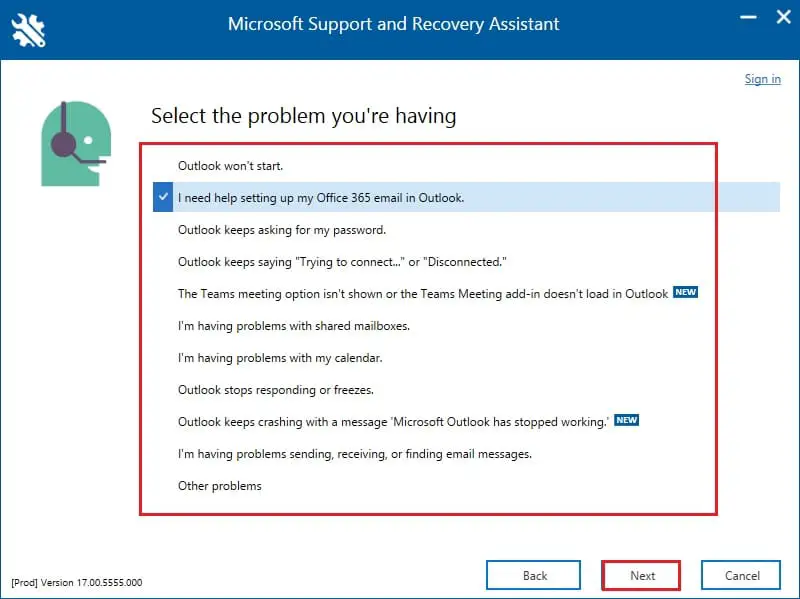
- On the next screen, select the type of issue you are facing, and then click Next. Note that some suggestions are not exactly for troubleshooting but general guides to set up the application.
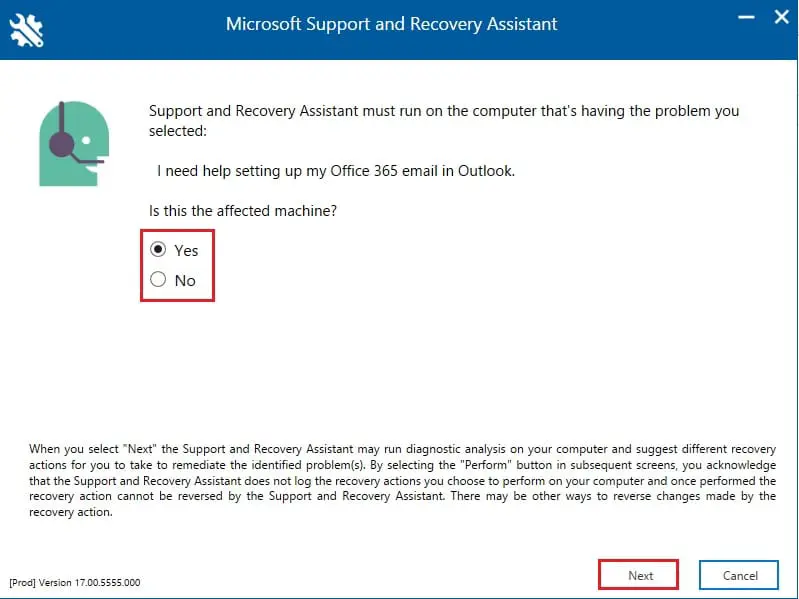
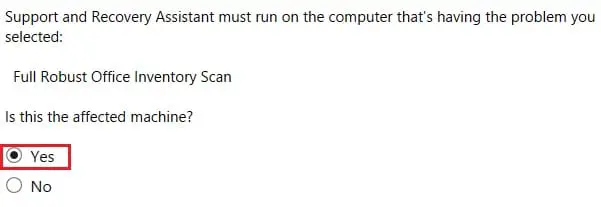
- Now select whether you are running the application on the same computer that is having the problem. Selecting “No” would result in giving you a link that can be used to download and install the utility on the computer having the issue. If the utility has been installed on the affected machine, select Yes and then click Next.
- If prompted, sign-in on the next screen using the same credentials you have used for Office on the affected computer.
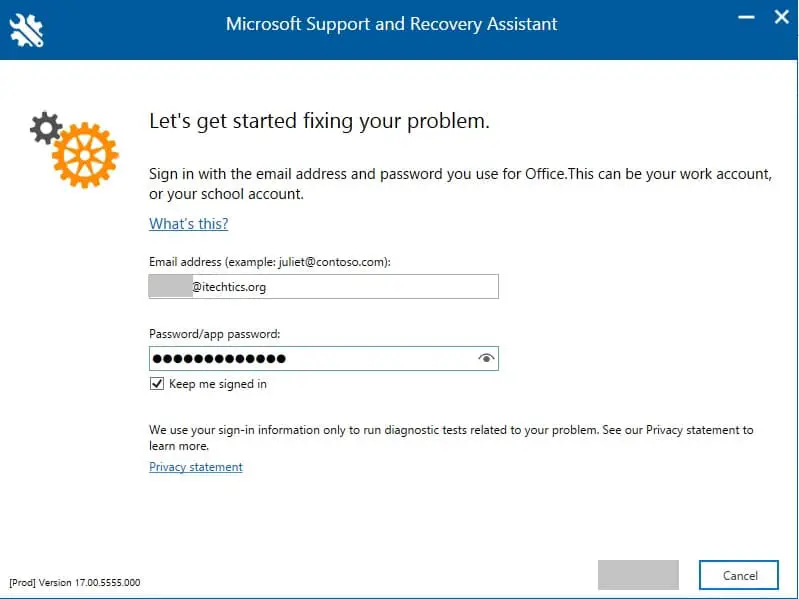
- The utility will then start scanning your computer and provide any troubleshooting tips, if possible, at the end of the scan.
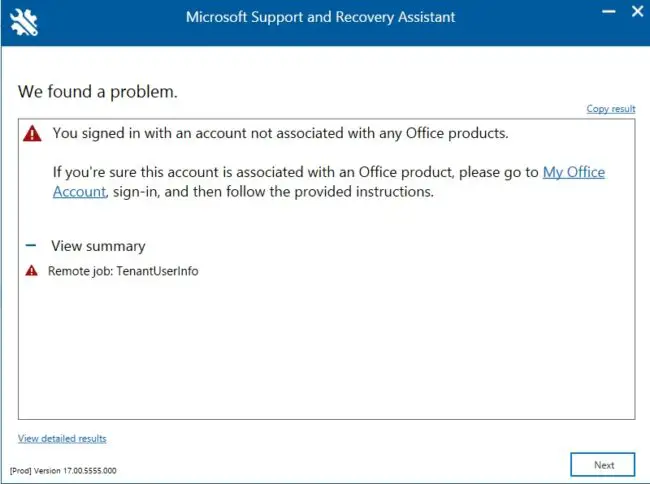
Usually, the provided solutions are pretty helpful. For example, we entered an email address that was not associated with any Office products and then troubleshot using SaRA for “I have an Office 365 subscription, but I am having trouble installing it.” SaRA then scanned our credentials and told us that the account we were using was associated with any Office products.
By checking real-time data and statistics of the situation, this utility aids in troubleshooting any of the mentioned products. You can also create reports generated through troubleshooting if you want to share the results with Microsoft. Here is how you can generate a report using the Support and Recovery Assistant:
- Run the application and then select Advanced Diagnostics, then click Next.
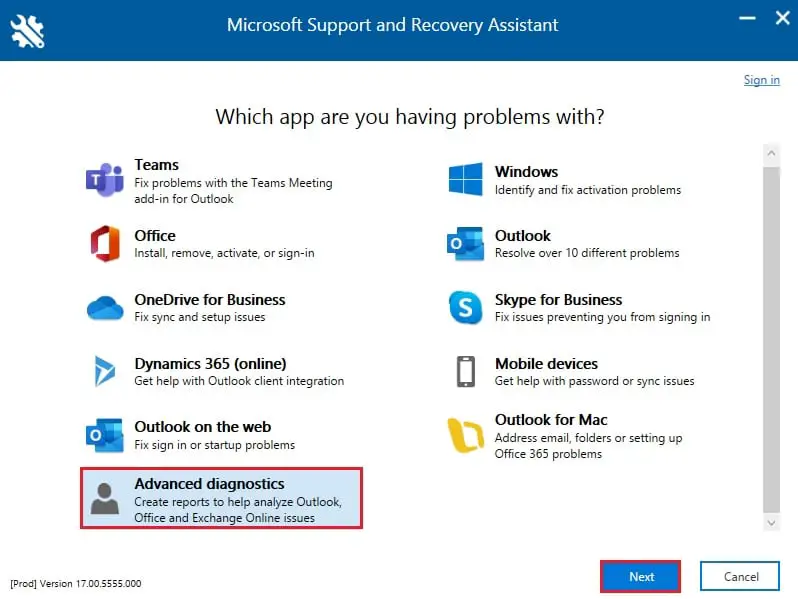
- Now select the product you wish to run Advanced Diagnostics on, and then click Next.
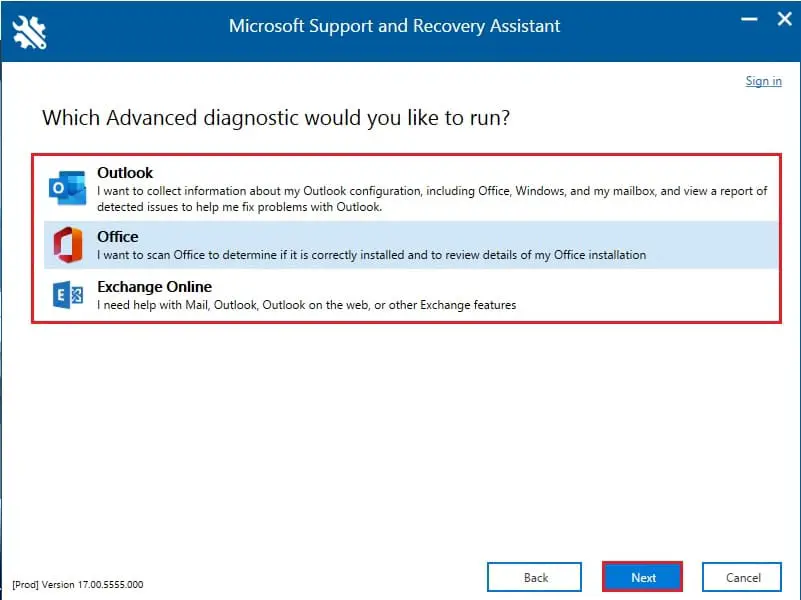
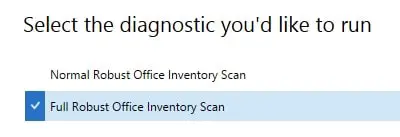
- Select the type of scan on the next screen, and then click Next.
- Now, select yes if the utility is running on the affected computer and click Next.
- If you are prompted to restart the SaRA application, click Restart. This will only take a few moments.
- SaRA will then reboot and start the scan. When done, it will display a detailed output of the results, as in the image below. Click on Next when done reviewing it.

- On the next screen, you can choose whether to send the logs created to Microsoft or not by pressing either Send or Don’t Send.
Closing words
Microsoft Support and Recovery Assistant is a great tool for quick troubleshooting. When it cannot perform certain tasks, the utility then gives out the information to the user of the actions they could perform to resolve the issue.
You can learn more about the SaRA utility here.

