Have you ever been blocked from accessing a website using a web browser? If you have been, you would probably know about it because you see a big message read across the screen saying “Temporarily banned IP address.”
Your IP address is a unique identifier for your device (private IP address) as well as the router from where all your traffic is entering and exiting your network (public IP address). You may come across a message stating that your IP address has been blocked when trying to access a particular website. This means that your public IP address is blocked.
Moreover, this message is not specific to any single web browser, or any specific website. This error message may be experienced on different networks, different devices, or even different websites. Some users have reported that the error occurred the first time they accessed a website, whilst some might see it after accessing it several times.
This can be so because there is no one reason for your IP address to be blocked, but several.
In this post, we discuss when and why your IP address may be blacklisted and how you can work around the issue and resolve it so that you can finally access the website again.
Table of contents
Why is My IP Address Blocked or Banned
When you are blocked or banned from a website, it is because there are checks placed on the website to monitor incoming and outgoing traffic. Any activity that may seem malicious is automatically detected and blocked. Services such as Cloudflare, Akamai, etc. are integrated into the website that performs these automation tasks and keeps a website secure.
Note that these bans are automated and not operated by a person – the traffic is simply too much for a website owner to monitor. Another this to consider is that these bans are usually temporary and are automatically lifted after a maximum of 24 hours.
An IP address is usually blacklisted because of one or more of the following reasons:
- Malicious activity – If a website detects malicious activity in an online session, it automatically blocks the IP addresses temporarily. This is usually the reason why your IP is blocked from accessing the website the first time you attempted to connect to it.
- Violation of terms – Another reason for a temporary block is you have violated the terms of the agreement for a website. This issue will be resolved when you attempt to access the website again after the block time. Make sure not to repeat the violation.
- Overwhelming use of resources – Your IP address may be temporarily banned if the website detects an excessive use of resources, like bandwidth or processing power. Excessive resource utilization is often experienced during a DDoS attack, to which a website responds by blocking the traffic/IP address.
- Geographic restrictions – A website may only allow traffic from specific parts of the world, blocking all others. If you are accessing the website from a blacklisted location, you will see the “IP has been blocked” error message. This is usually resolvable by using a VPN.
- Incorrect multiple login attempts – If you are signing into a website and make several wrong attempts, your IP address may be temporarily blocked as a prevention mechanism for unauthorized access.
- Issues with the website – On rare occasions, a website or one of its services may malfunction and result in a temporary ban of your IP address. Such an issue often self-resolves over the next 24 hours.
These are the potential reasons why your IP address is blocked or banned from accessing a website. Now, we shall discuss how to overcome these issues before the temporary ban is lifted in case you want to access the website before that.
Unblock IP Address on a Website
Why Your IP was Blocked?
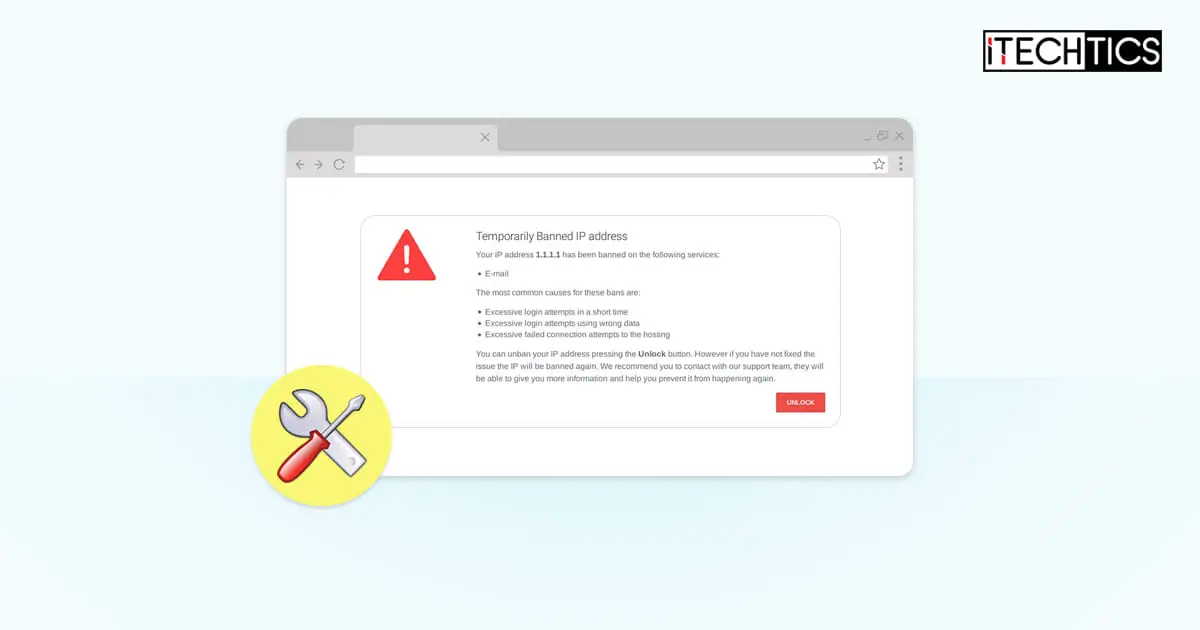
The first thing you ought to do is look for any hints about why your IP address was blocked in the first place. When you see the error message saying that you have been temporarily banned from accessing the website, look in the fine print that may state one or more reasons.
There may be a few reasons stated directly signifying why your IP address may be blocked, or you may find an error code, which you can then look up on the internet.
Here is an example of how an error message may appear:

If you think that you performed one or more of the given reasons, let the ban time go by and then access the website again. Make sure that this time you do not repeat the mistake.
If you cannot wait for the ban to lift, then you can attempt the following solutions to access the website.
Check for Malware
Viruses or malware on your computer may have been sending malicious traffic to the website(s) from where your IP address has been blocked. If you suspect that this is the case, we suggest that you scan your computer for malware and quarantine any if found.
Use the built-in Windows Security Antivirus (formerly Windows Defender) on your Windows PC to scan your computer for malware. Here is how to do it:
-
Navigate to the following:
Settings app >> Privacy and security >> Windows Security >> Virus and threat protection
-
Here, click Scan Options.

Open scan options -
Now select Full scan and then click Scan now from the bottom of the page.

Perform a full scan


You can also perform a scan using a third-party antivirus. Here is a list of the top antivirus software to use to perform the scan. If you are proceeding to purchase antivirus software, here are the 17 aspects you should always consider.
Once the virus is removed (if any), then wait for the ban to lift and then check again whether you can access the website.
Change Network
We mentioned earlier in this article that when a website blacklists your IP address, it is the public IP address that is blocked. When you change your network, it automatically changes your public IP address.
When we say to change your network, we do not simply mean shifting to another Access Point (AP) or using another cable from the same Internet Service Provider (ISP). We mean switching to a network that has a different public IP address. A different public IP address can be from the same ISP or a different one.
You can check your public IP address by searching for “What is my IP” on Google, or from the Command Line.

Enable or Disable VPN
A Virtual Private Network (VPN) encapsulates your online traffic, protecting your privacy as well as the data packets. What it also does is that it virtually changes your location. For example, if you are connected to a VPN server at another location, the traffic for the website will be generated from that location.
If you recall the reasons why a temporary ban can happen, it was mentioned that one of the reasons is the geographical location. If you have a VPN set up and connected, it may be possible that the website restricts access from that particular location. In this case, you should turn off your VPN or change its server location and then reattempt to access the website.
However, if you are not using a VPN, then we suggest that you use one and change your geographical location (virtually). After doing so, attempt to access the website again and see if it is a success.
Here are our top 5 picks for free VPN services. You can also check your VPN’s status using the command line.
Enable or Disable Proxy Server
Proxy servers are devices that are put between you, an end-user, and the internet. Contrary to a user who is directly connected to his router at home, a proxy server is an additional router that sits between you and the actual router.
Incorrect proxy server configuration can result in the IP address getting banned from a website. If you are using one, try disabling it as it may fix the issue. Similarly, if you aren’t using a proxy server, then you should try using one (provided that one is set up).
Follow these steps to remove a proxy server configuration from your Windows PC:
-
Navigate to the following:
Settings app >> Network and internet >> Proxy
-
Toggle the slider in front of “Automatically detect settings” into the Off position.

Disable automatic detection of settings -
Click “Edit” in front of “Use a proxy server.”
Note: If you see “Set up” instead of “Edit,” it means that manual proxy configuration has not been made on your computer. Therefore, you do not need to perform this or any of the following steps.

Edit proxy settings -
Toggle the slider to the Off position under “Use a proxy server” and then click Save.

Toggle off proxy


After disabling the proxy settings, check to see if you can now access the website.
Alternatively to the steps given above, if you weren’t using a proxy server before, we suggest that you set one up and provide the relevant settings in Step 4 above. Using a proxy server just may resolve the issue for you.
Check if IP Address is Blacklisted
If your issue still hasn’t been resolved, then you ought to check if your public IP address has been blacklisted. Several online services automatically detect your IP address and prompt you if it has been blacklisted and included in any anti-span databases spread across the globe.
Use the following steps to check if your IP address is blacklisted or not:
-
Open https://whatismyipaddress.com/blacklist-check using any web browser.
On this page, your public IP address will already be filled in.
-
Click “CHECK IP ADDRESS.”

Check if IP address is blacklisted The tool will now scan some anti-spams databases if your IP address exists in any of them.
-
Wait for the scan to complete and then check the list below for any databases that are blacklisting your IP address.

IP blacklist status If a database has blacklisted your IP address, it will show a red exclamation mark next to it.


If one or more databases have a red exclamation mark next to them, it means that your IP address has been blacklisted. In this case, the only solution would be to wait for the ban time to finish before accessing the website again. Or, you can switch to a different network (as discussed above), which will in turn change your IP address, and you should be able to access the website.
Conclusion
A website owner reserves the right to allow and restrict user access. This is how they use geographic locations to restrict traffic from certain areas in the world, for whatever reasons they have. However, at other times, access may be restricted to protect their website from potential threats and hackers.
If you are one of the victims of a ban, then this article will surely help you access the website again. Remember not to repeat any malicious activity on the website as there may be chances your IP address will get blocked again.