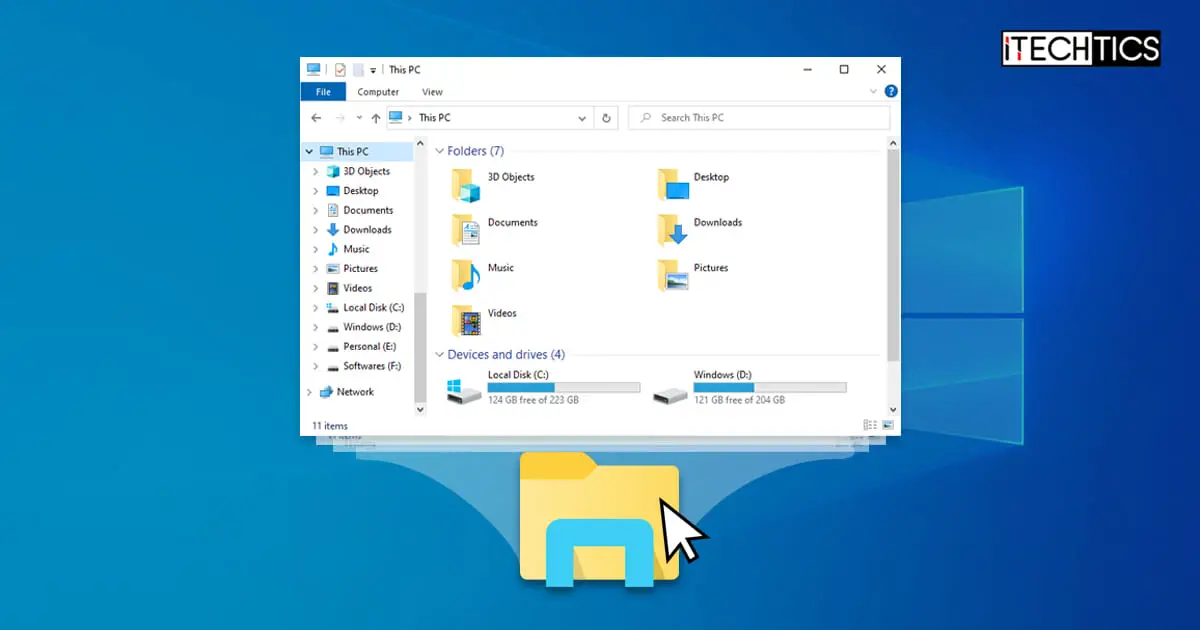
In Windows 10 and Windows 11, File Explorer opens a section called “Quick Access”. This includes your frequently used folders and recently opened files. If you want to open any drive (C, D, E etc.), you can do it from the left hand pane.
As a long-term user of Windows, I’m comfortable with the good old “This PC” stuff instead of the quick access items.
Quick Fix
Here are the steps to change the default File Explorer to This PC:
- Open File Explorer.
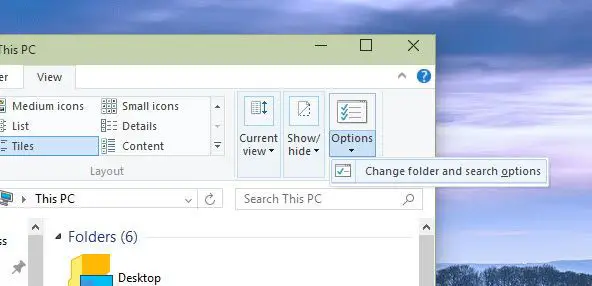
- Click View tab in the Menu ribbon.
- Click Options.
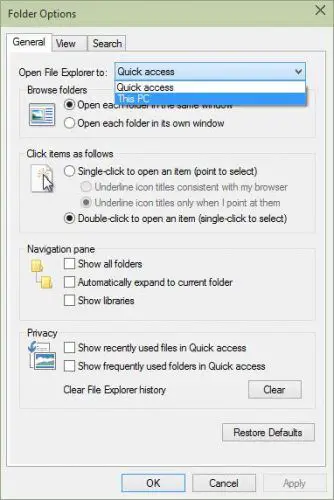
- Under General, select This PC under Open File Explorer to.
There are two ways to change the settings of Windows 10 File Explorer to open This PC instead of Quick Access. For normal users, the first method should be fine, and for techies, the second method should also work, as it involves registry editing.
Table of contents
Set File Explorer to open to This PC using Folder Options
The option to change the File Explorer default from Quick Access to This PC can be accessed from Folder Options. To open Folder Options, follow the steps below:
- Open File Explorer (Windows key + E) and go to View tab
- Select Options from the ribbon

- Change Open Explorer to value from Quick Access to This PC

Set File Explorer to open to This PC using Windows Registry
You can change the same setting as mentioned above using the Windows Registry. This is especially useful for System Administrators who want the same setting to be distributed across the network.
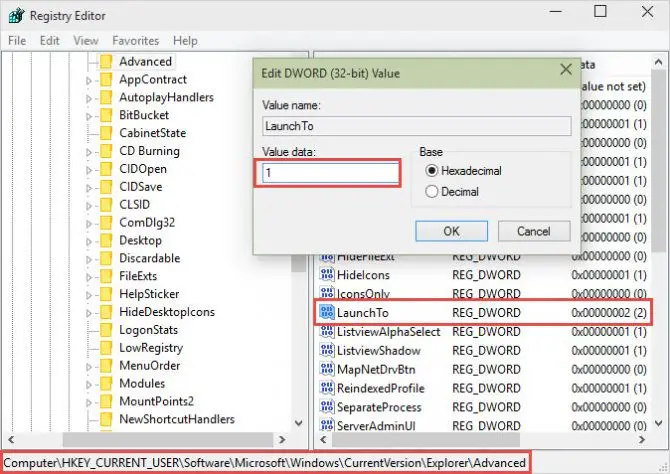
- Open Registry Editor and go to the following Registry key:
HKEY_CURRENT_USER\Software\Microsoft\Windows\CurrentVersion\Explorer\Advanced - From the right hand pane, double click LaunchTo entry to edit and change its value from 2 to 1

The setting is instant and you don’t need to restart Windows Explorer for the setting to take effect.


