Google Chrome has the highest market share as far as web browsers are concerned. However, it still lacks some basic functionality which the users have been demanding for long. We think that your calls have finally been heard.
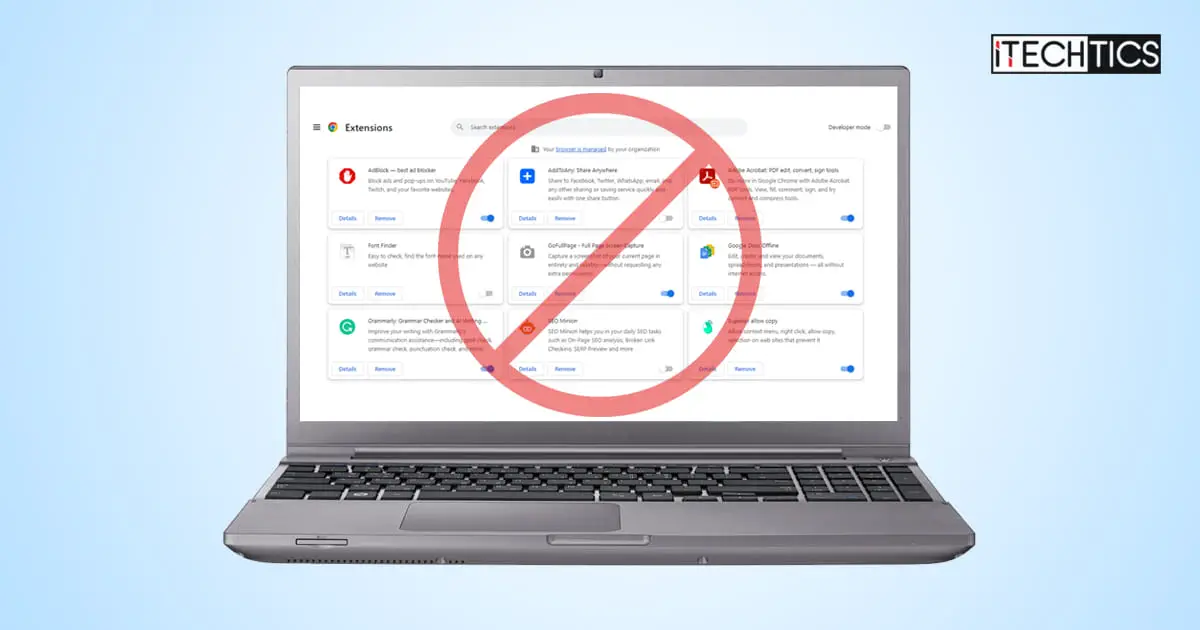
Google has been hard at work improving their menu bar alongside the Omnibox, which also includes the extensions button. They had gotten rid of the Extension button, shaped like a puzzle box, a long time ago. Now, you can also manage all your extensions directly from the Extensions button. More specifically, you can now control individual extensions for specific websites.
Previously, you could only enable or disable an extension, which took effect across all websites. Not only that but to do that, you have to go to the “Extensions management” page.

Now, you can enable or disable these extensions using a single button, and that, too, directly from the menu bar at the top. This way, you do not have to take extra steps and navigate to the Extensions management page.
That said, this is still a work-in-progress feature by Google, which means that it is not available by default. However, you can enable it manually using a Chrome flag.
The following guide shows you how to enable the feature.
Use the following steps to enable the new extensions menu in Chrome:
Note: You do not need Chrome Canary, Dev, or any insider channel of Chrome. This feature can be enabled on the stable Chrome channel.
-
Paste the following in the Omnibox and press Enter.
chrome://flags/#extensions-menu-access-control

Open the Chrome flag settings This will open the Chrome flags page with the “Extensions Menu Access Control” flag highlighted.
-
Click on the drop-down menu in front of the highlighted flag and select Enabled.

Enable the redesigned extensions menu -
Click Relaunch.

Relaunch Chrome


When Chrome relaunches, the changes would have occurred. You will notice that the Extensions button in the menu bar has changed. Upon clicking, you will also notice that the menu has been changed to include several sliders.
Note: You must be on the appropriate web page to view the changed extensions menu. It does not work on the Chrome flags or Chrome settings pages.

How to disable all Chrome extensions on specific websites
Once you have performed the steps above, you will now have the option to control all your Chrome extensions with the click of a button. Not only that, but you will also be able to disable an extension for a specific website only while keeping it enabled for all others.
Here are the steps to disable all Chrome extensions for specific websites only:
-
Open the website on which you want to disable all extensions in Chrome.
-
Click on the Extensions button in the top menu and then toggle the slider to disable all extensions.

Disable all extensions for a specific website You will now see “Extensions are blocked on this site” written inside the extensions menu.

How to disable specific extension on a specific website
You can also disable one, two, or more extensions for a specific website as well. Here is how:
-
Perform the steps above to enable the new redesigned extensions menu.
-
Open the website on which you want to disable an extension in Chrome.
-
Click on the Extensions button next to the Omnibox.
-
Click on “Always on all websites” below the extension that you want to disable.

Specify website(s) to disable the extension -
Select “Always on …” followed by the website name, and then click the Back button.

Select “Always on…” and press the back button -
Now toggle the slider in front of the extension into the Off position, to disable it.

Turn off the extension -
You will now be asked to reload the web page. Click Reload.

Reload the web page

When the web page reloads, the specific web extension will be disabled. You can repeat these steps on other websites as well, also for other web extensions, as per your requirements.
Closing words
Now managing your extensions is more convenient than ever before. Now, you do not need to keep enabling and disabling your Chrome extensions. Simply configure them once to be disabled on specific websites, so they will never interfere with your work again.
Let us know what you think of this nifty feature by Google, and how it can be improved further.