
I have been working with all kinds of virtual machines including Hyper-V, VMWare, VirtualBox etc. They all come with their own hard drive formats but almost all hard drive formats are convertible. Recently I converted VirtualBox VDI hard drive format into VHD format to run it on Hyper-V.
The conversion process went smoothly until I restarted my Windows 7 VM. Windows 7 was showing a black screen no matter how many times I restarted the system.
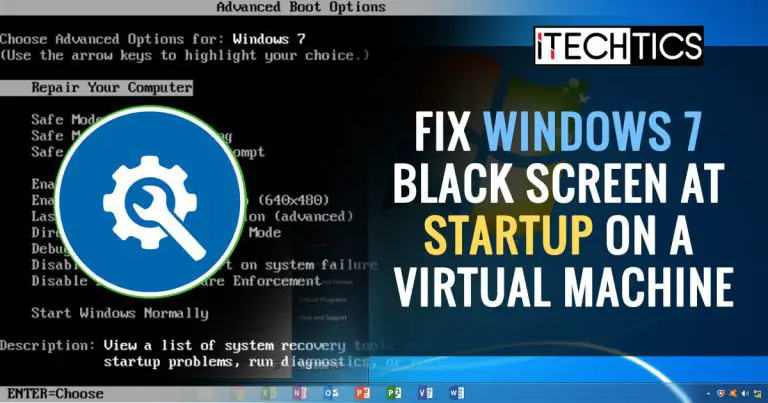
After a few troubleshooting attempts, I came to know that the boot sector was not properly configured on the converted hard drive and the system didn’t know where to find the Operating System to boot. Let’s go through the steps I followed to get rid of the black screen on Windows 7 startup.
You will need to boot Windows 7 using the installation DVD so that we can run the repair works.

Clicking the Next button will take you to the installation screen. You will need to select “Repair your computer” instead of Install now.

Windows will automatically find the Operating System installed on the hard drive and give you an option to select the Operating System for repairing. If you have only one Operating System, then you can safely click the next button. Otherwise, select the appropriate OS and then click next.

The next screen will let you choose the recovery tool of your choice.

Here you may select the Startup Repair option to let Windows automatically fix the startup problem. But if you want to do it manually, you should select the Command Prompt option.
Bootsect is the command to fix boot sector problems in Windows. Here is the command you will need to execute in order to fix the boot sector.
bootsect /nt60 all /force
/nt60 is the master boot code for Windows Vista, Windows 7 and Windows 8 Operating Systems. So this command will fix boot sector records for all the mentioned Operating Systems.
For previous Operating Systems like Windows XP and Windows 2000, you may use /nt52 switch.
all means that the boot sector should be fixed on all the available drives. If you have multiple Operating Systems installed on the same hard drive, then you may use the sys switch instead of all which will fix the System drive only.
/force will forcefully modify the master boot record.

After executing the command, you will get the successfully updated boot information message.

After this, you may restart the computer and it should work fine without being stuck on the black screen.


1 comment
Wayner Lopes Coelho
I did this procedure but no success :(