Using a Remote Desktop Connection, you can access another computer on your network/domain directly from your own Windows PC. However, users have often reported that they cannot establish a remote connection because their user account is not authorized.
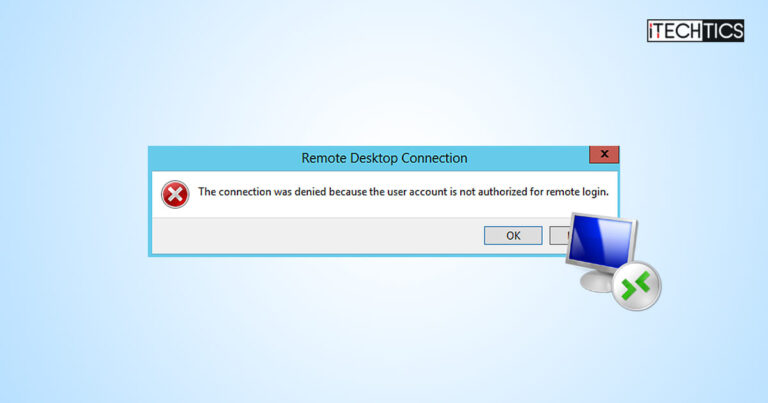
This error has been around for some time now, even before the release of Windows 10. The error states the following: “The connection was denied because the user account is not authorized for remote login.”

In certain cases, there are also reports that the user was able to successfully log onto a remote computer, but they had to use a user account they do not normally have access to.
In this article, we are going to show you how to fix the issue and mitigate the error and successfully establish a Remote Desktop connection.
If you read between the lines in the aforementioned error message, you can understand that the issue lies with the privileges and permissions of the user account you are using to establish the remote connection. The statement means that the user account is not allowed to log in remotely on the PC.
That being said, that is not the only reason why this issue may occur.
Another reason for the “The connection was denied because the user account is not authorized for remote login” error to occur is because the dependant Windows services are not running, or have the wrong “Log on” user configured.
These are primarily the two reasons why the issue occurs. Continue reading and perform all of the solutions given below to rectify the problem.
Add Remote Desktop Users Group to Allow Remote Connections
Amongst the many default users and groups in the Windows OS, one such group is labeled “Remote Desktop Users.” All user account members of this group are allowed to establish Remote Desktop connections, as long as they are added to the correct Security Policy.
We have divided this task into two processes shared below. The following steps need to be performed on the remote (target) PC.
Add User Account to Remote Desktop Users Group
First, you need to make sure that the account you are using to establish the remote connection is a member of the Remote Desktop Users group. Here is how you can do it:
-
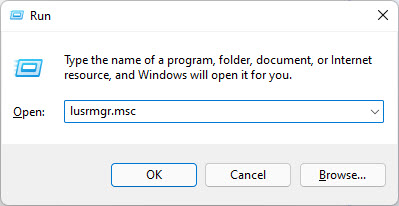
Open the Local Users and Groups management console by typing in “lusrmgr.msc” in the Run Command box.
Open Local Users and Groups console -
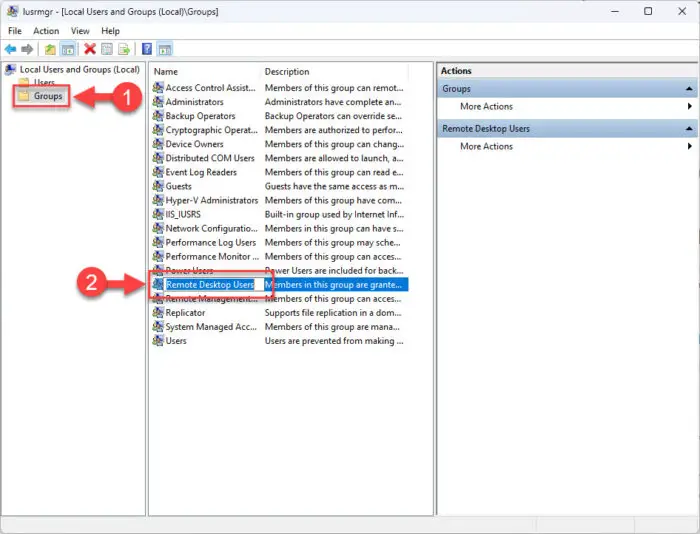
Click “Groups” from the left pane and then double-click the group “Remote Desktop Users.”
Open Remote Desktop Users group settings -
If you do not find the user account in the list under Members, click “Add.”

Add users to Remote Desktop Users group -
Type in the name of the user account to add, click “Check Names” so that the correct account is visible in the field and then click Ok.

Select the user account to add -
Click Apply and Ok to save and implement the changes.
Now, you must add this group to the correct Local Security Policy.
Allow log on through Remote Desktop Services
-
Open the Local Security Policy editor by typing in “secpol.msc” in the Run Command box.
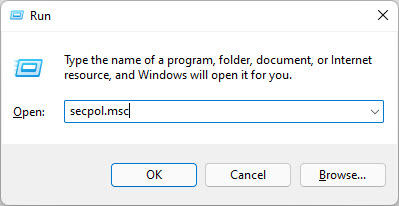
Open the Security Policy editor -
Navigate to the following from the left pane:
Security Settings >> Local Policies > User Rights Assignment
-
Double-click the policy “Allow log on through Remote Desktop Services.”

Allow log on through Remote Desktop Services -
If the “Remote Desktop Users” is not visible in the list, click “Add User or Group.”

Add a user or group to allow logon through Remote Desktop Service -
From the pop-up, click “Object Types,” then check the box next to “Groups,” and then click Ok.

Show groups in the results -
Now click Advanced.

Open Advanced settings -
Click “Find Now,” and then double-click “Remote Desktop Users” from the results.

Add Remote Desktop Users to allow through the Remote Desktop Services -
Now click Ok, and then Apply and Ok to save the changes.
-
Now run the following cmdlet in an elevated Command Prompt to implement the new policy changes:
GPUpdate /Force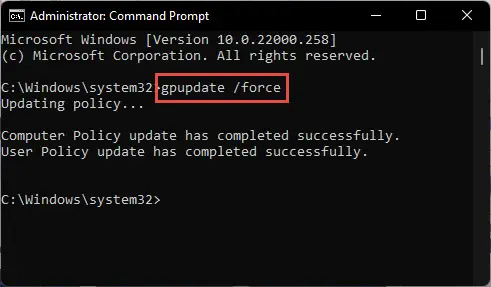
Enforce policy changes
Now check to see if you are now able to connect to the remote PC using the same account.
We have combined the two solutions above because performing only one of them may not have any effect, while the other solution is not performed or the relevant configuration is incorrect. Hence, ensuring that both of the solutions shared above are performed is more likely to mitigate the insufficient authorization error.
However, if this hasn’t worked for you, continue to perform the solution shared below.
Configure the Correct Remote Desktop Service Logon User
The Windows Service “Remote Desktop Service” requires a user account that is used to authorize and establish a successful Remote Desktop Connection. If an incorrect account is configured, you may see the “user account not authorized for remote login” error.
Use the following steps to configure the correct Remote Desktop Service logon user:
-
Open the Services console by typing in “services.msc” in the Run Command box.

Open the Services console -
Double-click “Remote Desktop Services.”

Open Remote Desktop Services -
Switch to the “Log On” tab.
-
If “Network Service” is not selected in front of This account, then click Browse.
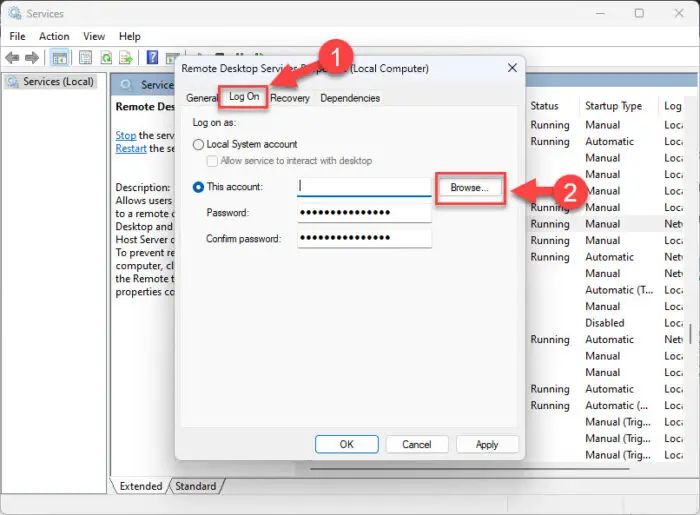
Browse for accounts -
Type in “Network Service” and then click “Check Names” so that the full account name is displayed. Then click Ok.

Search for Network Service account -
Now click Apply and Ok.
Now, check to see if you are now able to access this PC remotely using the same user account.
Closing Thoughts
This article discusses several solutions to eliminate the “The connection was denied because the user account is not authorized for remote login” error message so you can establish a Remote Desktop Connection without having to change your user account.
You may come across some other solutions that also mitigate the problem, but note that issues like disabled RDP throw a different kind of error, and not the one we have discussed in this post. Of course, you should enable the Remote Desktop Connection before anything else, but it is a given.
We hope that the solutions provided in this post work for you. Let us know where your problem lies in the comments below so our readers can benefit.

